The modelling industry is very competitive. Every photo-shoot is a chance for a model to show herself at her best, and any model is only as good as their last shoot – so there’s a strong incentive to make each photo-shoot count towards
This article highlights some recommendations that a model may want to review in order to prepare him or herself for a photo-shoot. While digital photo processing software such as Photoshop can work miracles, neither a model nor a photographer will take as much pride in highly photoshopped pictures. If you take the time to prepare well in advance of your photo-shoot, you will feel more confident and as a result, look better.
Part 1: Show your body and skin at its best!
1. If you work out, you may want to vary your routine to show off the muscles you’re most proud of. Or, a week before the shoot, you may want to increase the intensity of your workout. For example, if you usually do aerobics or body shaping, switch to working with gym equipment for a couple days. You will notice how well your muscles will respond. In no way does this mean you need to have a stereotypical fashion model’s body. Exercise can be great for any body and can boost confidence – and confidence is really what makes you attractive.
2. Moisturize: Hopefully you moisturize your skin regularly. If not, certainly apply moisturizer on the days before and morning of the shoot. To make your skin look smooth, supple and glowing, consider using with a hydrating cream containing exfoliators such as hyularonic or glycolic acid.
3. Remove: If you shave, do so 2 days before the shoot, in order to give your skin a chance to recover. If you do it yourself, follow the main rules of depilation to avoid irritation and ingrown hair:
- cleanse your skin and exfoliate before depilation
- do not stretch your skin when depilating
- do not apply too much pressure when shaving or using hair depilation cream
- do not run the shaver over one and the same spot several times or you can create irritated spots. If you have to, reapply shaving cream.
4. Color: Instead of using a solarium and prematurely aging your skin due to UV damage, consider using self-tanning creams and bronzing products. Choose a light type that gives you a chance to regulate intensity with each application and to avoid disasters like uneven color, lines and spots. Experiment with these products well in advance of your shoot, so you know that the color will look right for you. Try to avoid tan lines.
5. Watch it: Avoid too much salt and iodine in your diet. Salt can lead to water retention in the skin and the skin surface does not look smooth and tight but tired and bumpy. Iodine, for example in sushi and marine dishes, can trigger break-outs. Include more fiber into your diet it will help your body to get rid of toxins, and drink plenty of water.
6. Spots: If you do get a pimple the day of the shoot, do not touch it, as you will make it redder and harder to cover. Most photographers have no problem with one or two pimples as these can be easily covered with makeup or digitally removed by photoshop. If you have serious acne problems, be sure that your photographer knows this in advance.
Caution: Do not experiment with new skin treatments the night before the shoot. Any new treatment can cause skin irritations or allergic reactions. Test out the treatments well in advance of the shoot in order to know how your skin will react and how long your skin needs to recover.
Part 2:
Okay, your skin and body look great! What else you can do to prepare for a photoshoot?
1. Hair: If you dye your hair, make sure that you have had your roots recently treated. Studio lighting can exaggerate dark roots.
2. Nails: Make sure your finger and toe nails look clean and manicured. Use a clear nail polish which will go with any color clothing. If you must color your nails use a neutral white or cream. Red nails will look strange if your outfit is blue.
3. Makeup: If there will be a makeup artist at the shoot, arrive with no makeup on. Otherwise, you will loose time and potentially irritate your skin (and your photographer) when the makeup comes off. If you will be doing your own makeup, remember that photography lighting and the heat from the lights tend to make the skin look shinier than usual. Do not use any shiny or bright make-up that might cause reflection or glare during the photoshoot. Apply a base to smooth your skin and make it look consistent. Use mascara to bring out your eyes. Bring several colors of lipstick that you can apply depending on the color of clothing.
4. Wear antiperspirant. Avoid using any deodorant which may stain clothing.
5. Tattoos: If you have tattoos, experiment to see what make up will cover them naturally. If you are interested in being a traditional fashion model, don’t get tattooed, as many photographers don’t like them. On the other hand, tattoos can make a portrait more interesting – just make sure the photographer knows about them ahead of time.
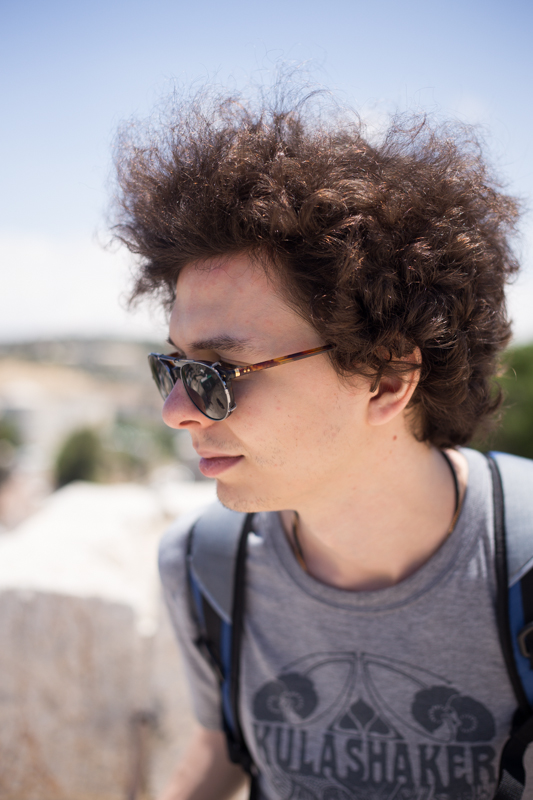
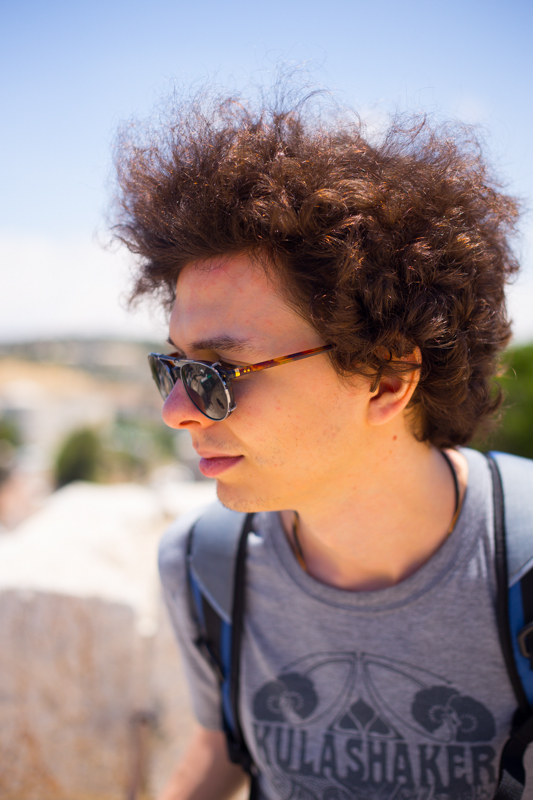
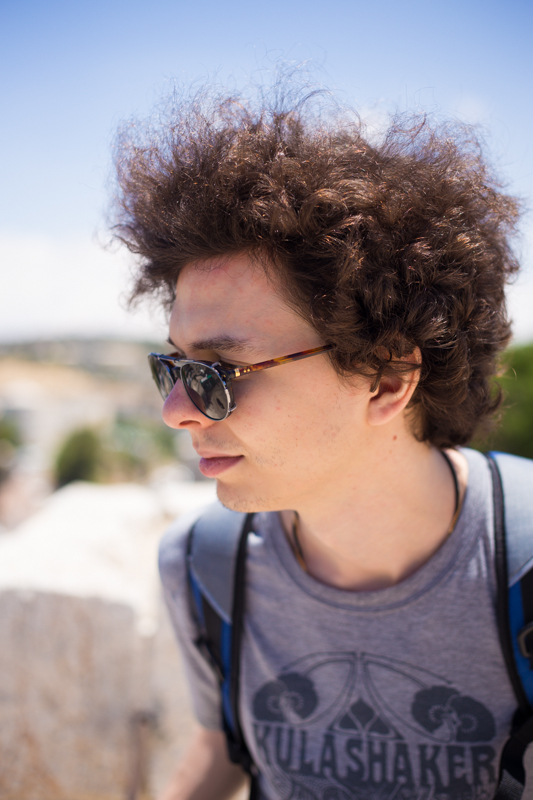
6. Posing: Practice your poses before the shoot. This is especially advisable if you are a beginning model. Flip through some magazines and find the poses you like. Practice your facial expressions and poses in front of a mirror so you can see how you look at your best. Often exaggerated or unusual poses look most interesting. Wild and disheveled hair may be better for you than the well-groomed look. Do not be afraid to experiment and try new things. It will be much better than standing like a stick in front of the camera.
7. What to wear to the shoot: If your shoot is glamour, swimwear or lingerie, wear loose fitting gym clothes which have no elastic bands. Do not wear underwear. Underwear leaves lines on the skin, which can require 30-60 minutes to disappear.
8. Get plenty of rest: Have a good night’s sleep the night before the shoot. Avoid partying the night before a photoshoot. Alcohol and cigarette smoke, even smoke in the air, can make your eyes red and puffy. Also, if you are a smoker bring down the number of cigarettes your smoke or stop completely before the shoot. Smoking deprives skin of oxygen and nutrients and makes it look gray.
Invest the time to make yourself look the best you can be so you can feel confident during the shoot. If you feel great about yourself, you will exude confidence. Confidence shows and will help to make your photos the best they can be.
This article was written by Eden Fenrick for Photocritic. If you fancy writing a guest article, get in touch!
Do you enjoy a smattering of random photography links? Well, squire, I welcome thee to join me on Twitter -
© Kamps Consulting Ltd. This article is licenced for use on Pixiq only. Please do not reproduce wholly or in part without a license. More info.
