Yeah, I know… It isn’t as if it is rocket science. You press apple + U, and the picture is nice and de-saturated. However, this also means that you have no control whatsoever about the final result of the image. Instead, a little bit of knowledge how RGB colours work will allow you to create some pretty impressive black and white photos from digital files…

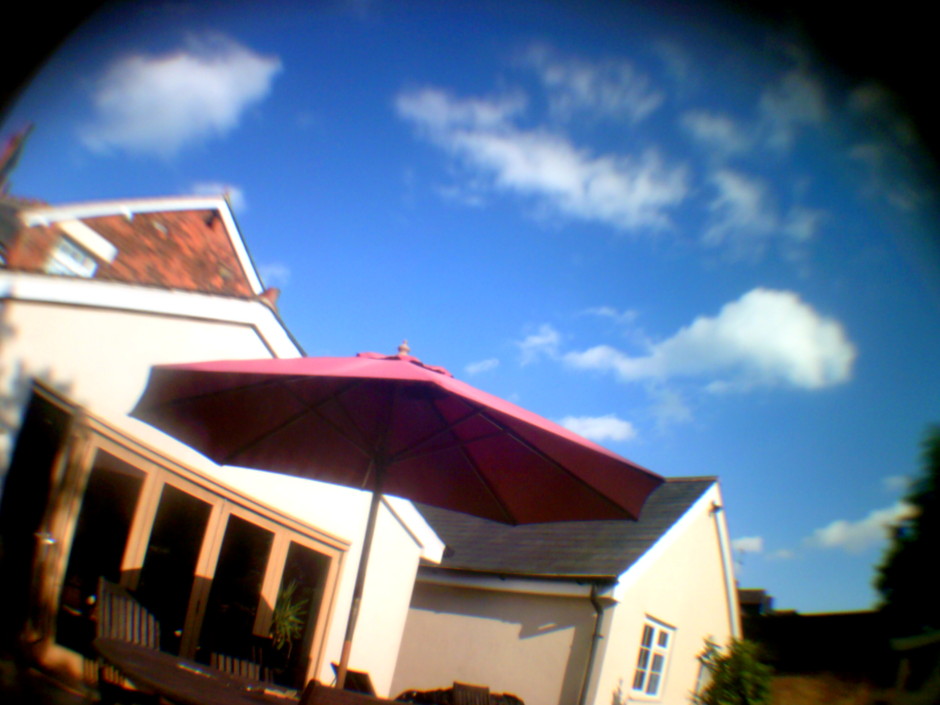
When you de-saturate (apple + shift + u, or image -> adjust -> de-saturate) this picture, this is what happens:
Yes, it is a black and white picture, but – if you ask me – it isn’t particularly exciting – and definitely not anywhere near a piece of art. To make this picture even remotely interesting, we have to change the way of turning the picture into black and white.
If you have worked with coloured filters to improve your black and white pictures before, you know what I am talking about; The coloured filters block certain colours from hitting your black and white film, thereby enhancing your photograph. This, then, is the secret: When you shoot in colour, you can add these coloured filters later! This is the reason why, even if you digital camera supports taking black and white pictures, you always should shoot in colour.
 The best way of turning a picture like this into black and white, is to use something called the channel mixer – one of the lovely functions found in Photoshop, or indeed most image editing apps.
You find the channel mixer in the in the Image menu – here you find a submenu called adjustments. In this menu, you find some of the most useful commands in Photoshop. Among others, you find the Levels tool (I will do a separate tutorial on this tool before too long), a curves tool (incredibly useful, especially for print work), the de-saturate tool (already mentioned above), and – if you have a quick butcher’s down the list, a Channel mixer.
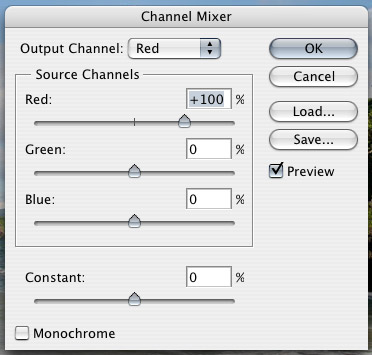
The Channel mixer is your Friend. Trust me on this. When you open the channel mixer menu, you find something along the lines of the illustration to the left.
The channel mixer can be used for adding great effects to colour pictures as well – such as changing the red and blue channels and stuff like that, making colours really wacky, turning the ocean red and the skies green. Stuff like that – I suggest that (after you finish trying out the stuff in this tutorial, of course) you play more with the channel mixer later.
For our purpose, however, we will check the Monochrome checkbox. This changes the output channel from Red (or green or blue) to gray. This means that now you are mixing the three channels (RGB) into one channel. Of course, this is basically what de-saturation does. Except now you have the option of controlling how it is done: The three sliders are there for you to decide how much of each channel is taken into consideration when converting the three channels to black and white (i.e. mixing the channels. Hence, Channel Mixer.).
On the picture below (marked with R, G and B) I have used 100% blue, green and red, to illustrate the difference between the different channels. Because the sky is largely blue, it appears whited out in the blue channel (see the part of the picture marked "B"). In contrast, the palm tree (which is quite red) will have a lot of dark colours in the blue channel, yet a lot brighter in the red channel.

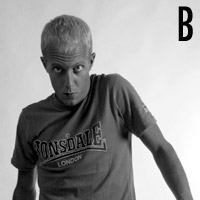
When turning people into black and white, the differences can be even more surprising – and effective:
In this image, using the red channel makes the model unhealthily pale-looking. Using exclusively the blue channel, however, makes him look ridiculously tanned. Basically, this is what the tutorial is all about: Combine the different shades of the colour image, in order to get the exact effect you desire.
In the next example, we combined 60% red, 10 % green and 20% blue to make the black and white edition.
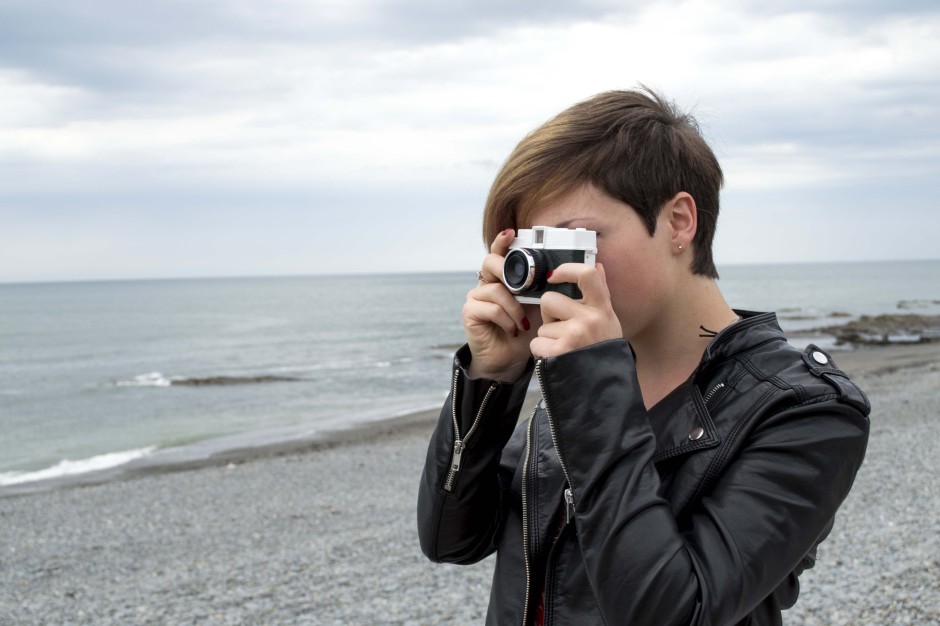
For women, the red channel is a highway to fair skin (small blemishes – being red, normally – completely disappear), while for men, using the blue channel usually lifts up the facial characteristics. For people who have really faint freckles, pulling up the blue channel a bit will enhance the visibility of the freckles. I once photographed a model who – when she saw the images – claimed I had painted on freckles. I denied, and sent her to a mirror. She was 24 years old, but it took a Photographer and some Photoshopping for her to realise the first time in her life that she actually had freckles!
Now that you know what the different channels do, you will want to start experimenting with the settings, so we can turn the images into black and whites the best possible way.
Do you enjoy a smattering of random photography links? Well, squire, I welcome thee to join me on Twitter -
© Kamps Consulting Ltd. This article is licenced for use on Pixiq only. Please do not reproduce wholly or in part without a license. More info.


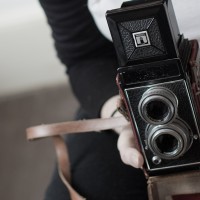


 The best way of turning a picture like this into black and white, is to use something called the channel mixer – one of the lovely functions found in Photoshop, or indeed most image editing apps.


