Today, 14 November 2013, is International Food Photography Day. I'm not sure that I really need any type of excuse to take photos of many things at all, especially food, but it's definitely a good excuse to brush up on the necessary skills.

Photographing food so that it looks good enough to eat isn't necessarily as intuitive as you think it might be. But, it also isn't that hard, either. Ten simple tips later, and you should have some fabulous food photos.
1. Choose your food carefully
It doesn't matter how tasty your lentil soup actually is, because it is a muddy yellow-brown colour and has a bog-like consistency, it is never going to look as appealing as a strawberry-topped, floaty-light sponge cake.
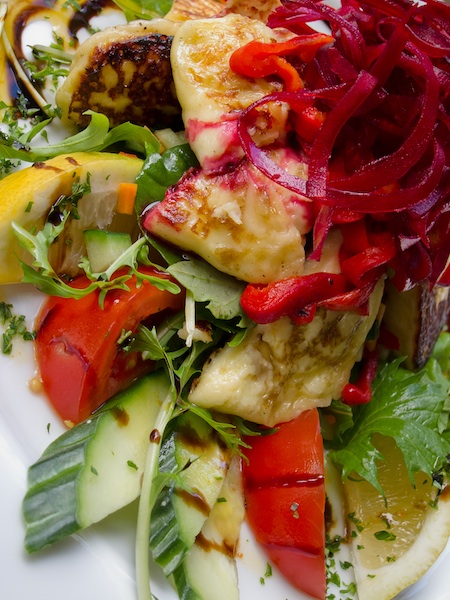
Stick to foods that are visually appealing - bright, glossy, and with interesting textures - unless you really have to photograph the aubergine paté. If that's the case, try to introduce some contrasting colours, say a garnish, and use an interesting setting, like unusually shaped crockery, to help you out.
2. Use natural lighting
Flashes do horrible things to food, like give them ugly shiny patches. Where you can, photograph food close to a window with plenty of sunlight. Of course, that's not always going to be practical - midnight sun is a bit hard to come by unless you happen to be around either of the poles in high summer - so if you do have to resort to a flash, try to bounce it off a wall or use a diffuser to soften the effect.

3. It's all about the angles
Experiment with as many different angles as you can manage: from below, from above, from the side and slightly down, side-ways on. Snap, snap, snap!
4. Consider your depth-of-field
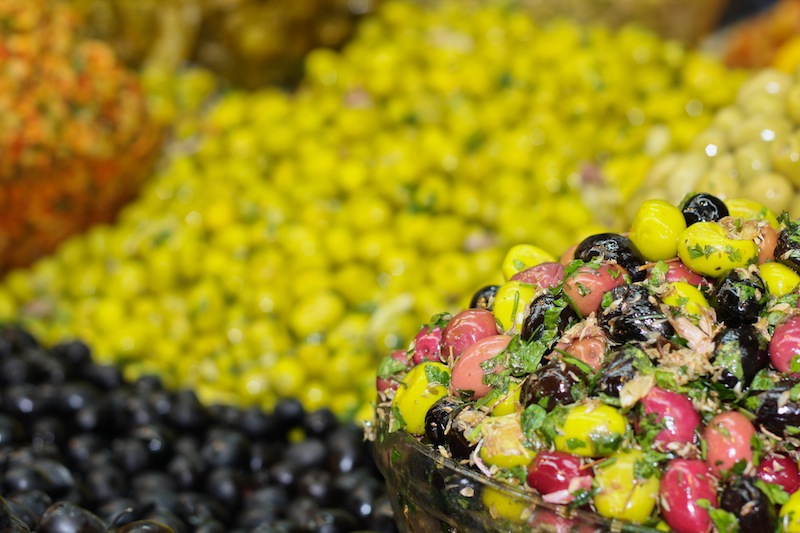
If you're shooting from a lower angle, looking over or across your food, you'll probably find that a shallower depth-of-field is preferable. You'll want a ratio of food-in-focus to background blur that lets the subject stand out.

On the other hand, if you're taking overhead shots, a smaller aperture will be your friend so that everything looks crisp.
5. Get your white balance right
Blue-tinged cream or a green cast on meat is going to look just grim, so get your white balance right for your lighting conditions. (Unless of course the photos are for an article on food poisoning, then maybe you do want everything to look off.)
6. Get close. No, that's not close enough. Closer still.
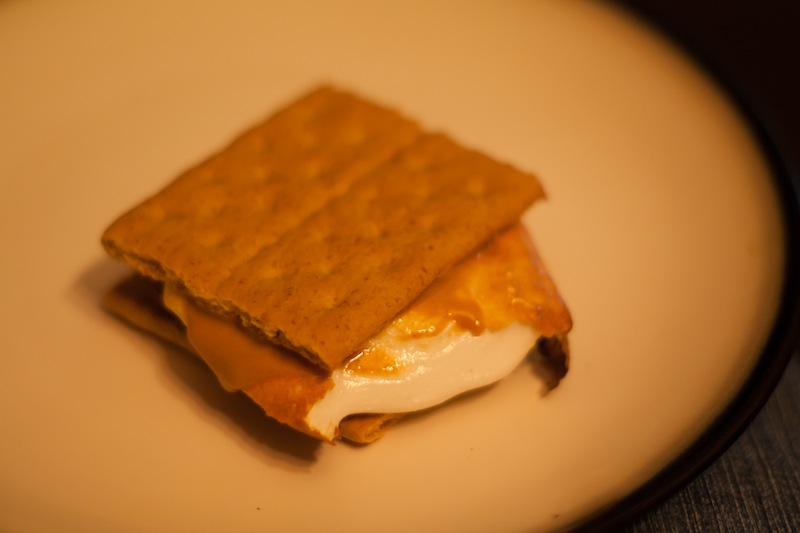
Food photography is about making things lush and tempting. Get in as close as you can so that when you look at the photograph, you feel as if you can practically reach through it and sneak a cherry from the top of the trifle, and smell the zest from the lemons.

7. De-clutter
You don't want anything ugly or distracting in the photo; you want the food to shine. Okay, so this is a given for just about any type of photography, but it's easy for salt and pepper cruets to sneak into a shot when they shouldn't be there, or for a puddle of spilled orange juice to seep across the background. A quick bit of repositioning can do wonders.
8. Make sure the crockery and cutlery is clean
No, you don't want smears of sauce smattering the brim of the plate or thumbprints on the knife.
9. Do you want to style it?
If you're photographing your meal in a restaurant, then it is already going to have been styled. The presentation will be perfect and the crockery will work with the table setting. But if you're doing it at home, then it's worth thinking about the crockery you use, whether or not you need or want a table cloth, and just where you shoot.
Crown Derby china is not going to do very much to show off your seared scallops and for heaven's sake, a boudoir with red velvet curtains is not the ideal setting for a Toy Story birthday cake. But wouldn't that work a treat for red velvet cupcakes?
10. It's not just about the finished product
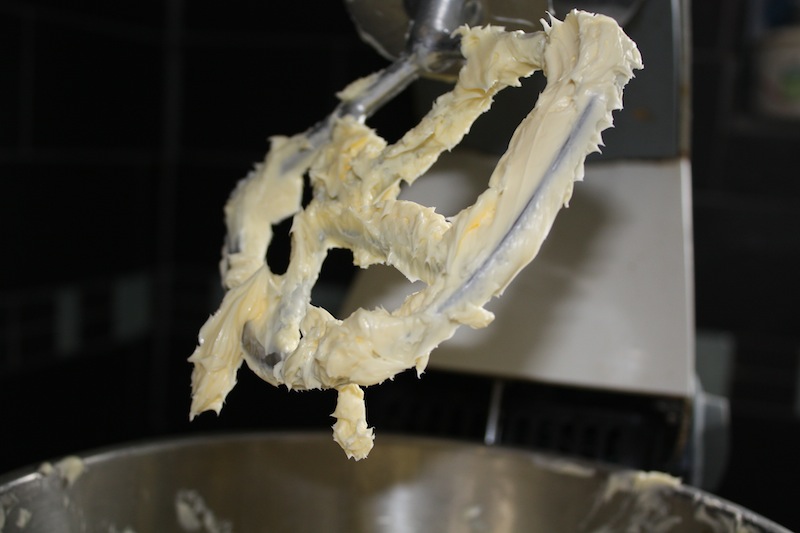
There's a whole heap of work that goes into preparing something as beautiful as a wedding cake and a whole heap of enjoyment that goes into eating it, so documenting that is just as rewarding as photographing the finished product.

When I - for my sins - baked my cousin's wedding cake, I photographed the entire process, starting with the ingredients assembled on the kitchen counter and ending with the last crumbs left on the cake stand. It made a great photobook gift for the happy couple, too.
What are you waiting for? Muster your baking pans and set up your tripod!


