kite photography

Let's go fly a Sparrowscope! Kite photography comes to Kickstarter

Ori Barbut has loved electronics and tinkering with things since he was a kid. He fixed things for his friends and his parents' friends; then he took two degrees in engineering; and now he's a freelance engineer in the aerospace and energy industries. But he's also developed a project on the side, combining all of these skills and interests, inspired by a picnic in a Toronto park in 2012. Someone asked him and his friends if they could help secure a camera to a kiteline, for a spot of aerial photography. It got Ori thinking: there has to be an easier way to have a go at kite photography. Within a few days of thinking about it, Ori had knocked together a balsawood prototype. And now, after 16 months of development, he's about to launch the Sparrowscope on Kickstarter.

The Sparrowscope comprises a kite, a harness for a picture-taking mobile device, and an app for communication. The theory is that you launch the kite, fly it into clean air where it's easier to control, and then attach the harness to the line and send your mobile device up to start taking photos.
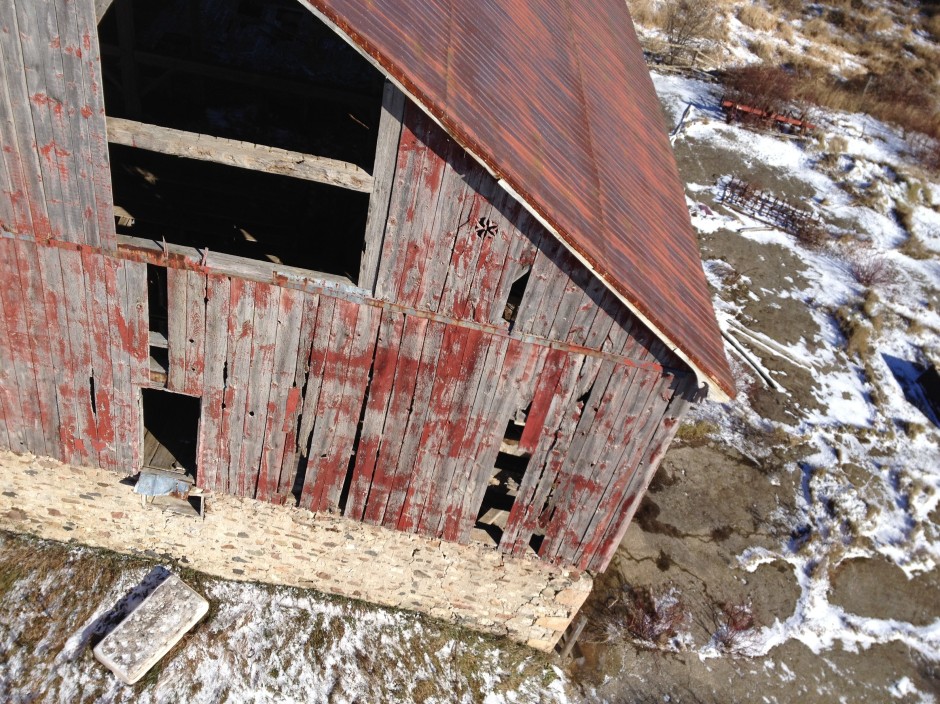
Barn from above

The Sparrowscope uses an easy-to-fly kite, so even if you're not a kite-flying expert, you shouldn't have too many problems. The harness uses a three-point design, meaning that if one strap fails there are two more to hold your phone in place. And the frame that takes the harness up the line is designed so that regardless of the angle that your kite plummets ground-wards, your phone shouldn't hit it. You won't need to catch it in your hands.
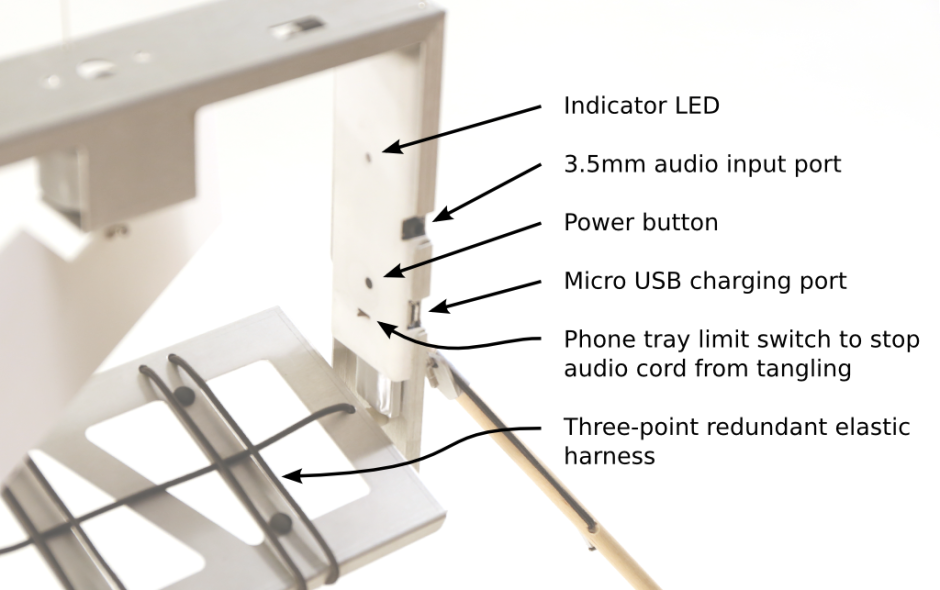
All the details

You'll need two devices, both running the Sparrowscope app, to operate the Sparrowscope: one in the harness and one on the ground. The one in the harness will be your picture-taking device; it will also send tone pattern signals to the tilt-pan motors through its headphone jack, allowing you to direct your camera using your device on the ground. The aerial device and the grounded device communicate using a wi-fi generated by a wireless hotspot. The device in your hands will give you a live view of what the aerial device is recording as well as allow you to direct the pan-tilt function to help you get the shots you want.
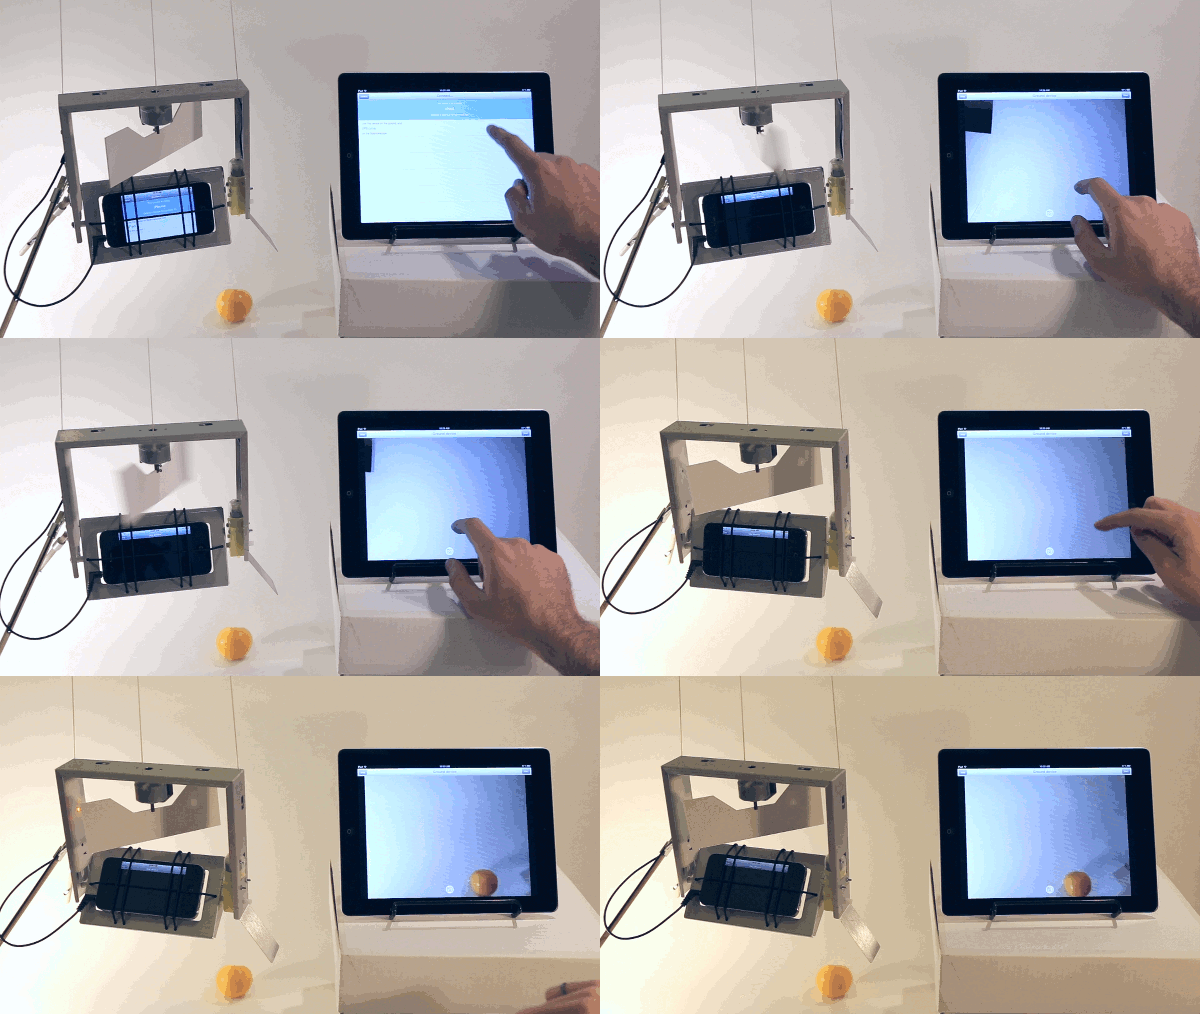
Panning, tilting, and taking photos

You can send a fourth or fifth generation iPod Touch (running iOS 5 or later), an iPhone 4 or later, or an Android phone running 4.0 or later up into the sky. On the ground, you've a greater range of device options:

  • a third, fourth, or fifth generation iPod Touch running iOS 5 or later
  • an iPhone 3GS or newer
  • any iPad model running iOS 5 or later
  • an Android phone running 4.0 or later
  • an Android tablet running 4.0 or later.

Barbut needs to raise $75,000 (Canadian) from his Kickstarter campaign to bring kite photography to the masses through the Sparrowscope. The cheapest pledge that you can make and get your hands on a kite and harness rig is $249 (Canadian). As luck would have it, the project is launching on a day when the winds are so high in the UK several train companies have been forced to cancel services because of the risks from falling trees, but you shouldn't let that put you off. This sounds like far too much fun to pass up!

Introduction to kite photography

Caption

Go fly a kite. No, seriously. Do it. Then tie a camera to the kite, and get some of the awesomest photos you’ve ever taken.

Sounds scary, eh? Well, there appear to be plenty of people who have had a go. The idea is simple: You take a kite, attach a camera, and take photos with a birds-eye view. It’s actually not entirely unlike what the world-famous French photographer Yann Arthus-Bertrand is doing, sans the ridiculously high costs of having to rent (or buy!) a helicopter.  


Kite aerial photography

A great example of kite-assisted photo by goodmolecules on Flickr

Kite photography, Kite Aerial Photography, or KAP, as it is known among friends, has been with us for absolute yonks – the first famous image I have been able to find out about was taken by a George Lawrence in the early 1900s. His early pioneering work in the field became particularly famous when he took a photo of the 1906 San Francisco earthquake.

He wasn’t the first, however, as commenter David Hunt (of kaper.us fame) points out – Apparently, the first kite aerial photograph was taken in 1889 by Frenchman Arthur Batut. The first American to take an aerial photograph was William Eddy – photos done by the both of them are available online.

There are a lot of different ways of pulling this off, though – from using a very simple compact or disposable camera with some sort of a trigger, to using an elaborate mechanism that allows you to control the imaging device with great precision from the ground.

If you prefer to start off small (may be a good idea), it makes sense to start with David Hunt’s article, explaining how you can introduce yourself to the genre for under US$20 – a reasonable introduction price to any hobby, we’d say.

Triggers

Picture-4.jpg

The first – and trickiest problem, I’m sure you’ll agree – is to find out how you can actually set off the camera: Every idiot can tie a camera to a kite, but how do you take the photo?

There are three ways, essentially: A preset timer takes a photo, you can use a timer that takes photos on intervals, or a remote control that lets you choose when to take a photo. The first option is cheapest: one solution is to use a thread and a storm match. You light the storm match, and you’ll have 5-6 seconds to get the kite as high as possible, as described on this page, but it isn’t a very flexible solution, and you’d end up sending the kite up again and again and again. Very tedious.

The second solution – intervals – is easiest done with digital cameras. Some digicams have a time-lapse feature built in (I remember one of my first cameras, the Casio QV-8000SX had this functionality built-in), but it is actually surprisingly rare. Cameras that accept a remote control can usually be quite easily adapted to do time-lapse photography, by creating your own remote control that sends signals to take photos at the intervals you choose, but this requires some electronics skills. If you are going to go to those lengths, you may as well go for solution #3 – us a radio-remote with an electronic trigger!

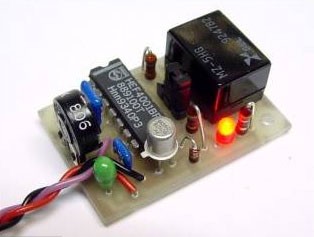
Picture-3.jpgOne of the easiest ways to use a radio remote, apparently, is GentLED, an universal camera remote system that weighs only 3 grammes, and can be set to control a wide array of different stills cameras and camcorders. The system has been developed especially for kite photography, but can also be used for other applications, obviously. They start at €20.
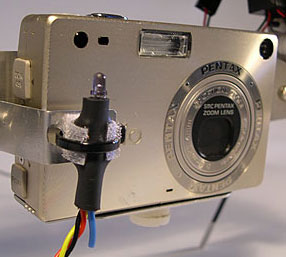
If you are hell-bent on not using any pre-fabricated items, our friends over at Engadget threw themselves into the mix head-first, and actually hacked a digital camera to do time-lapse photography. The idea is that once you set it to take pictures every minute (or whatever), you can just concentrate on flying the kite, and see what your camera comes back with.

More advanced stuff – Cradles, remote controls & getting high-tech

None of this is nearly hardcore enough, of course – we want proper stuff! What happens when you go all the way?

Well, Roy Latham explains:

Picture-22.jpg

The rig includes a Sutton Flowform 16 stickless kite with a long nylon fabric tail and the camera platform.


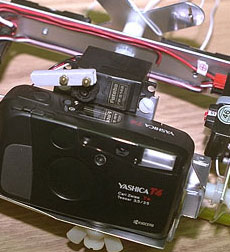
The camera platform uses a Yashica T4 camera and two Futaba servos. One servo controls pitch and the other actuates the shutter. Note that since we are mainly interested in straight down, there is no need for an azimuth servo.

We asked for an elevation control on the grounds that since we would have the kite aloft anyway, it would be irrestable to want to take some more conventional scenic pictures.

The Futaba radio control unit is a popular unit used for radio controlled model airplanes and the like. The framework for the camera platform was custom crafted of aluminum, with some nylon fittings.

Mounting a camera to a radio controllable cradle can help you aim the camera for each shot. There are many different cradle designs available, but Scott Haefner’s solutions seem to stand out as particularly elegant.

Other resources worth checking out:

Kaper.us, an Article on BBC about kite photography, Charles Benton’s KAP page, Scott Haefner’s KAP page, Peter Bults’ KAP encyclopedia and blog, 360° panoramas using KAP, KAPnet’s directory of KAP parts, Some of the best KAP photos on flickr… And finally, a fantastic article in Science News about the scientific application of kites and kite aerial photography.


Do you enjoy a smattering of random photography links? Well, squire, I welcome thee to join me on Twitter -

© Kamps Consulting Ltd. This article is licenced for use on Pixiq only. Please do not reproduce wholly or in part without a license. More info.