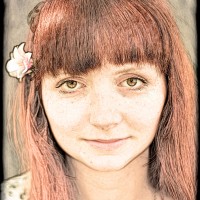
So taking photos should be fun, right? Right! And sometimes we want to have a bit of fun with our photos themselves, right? Right! So, ehm, what can we do with our photos to play around with them a bit more? Well, we’ve been pooling braincells over here at the Small Aperture mansion, and just before they expired from over-use, we came up with the following.
First of all, you could go out and buy yourself a toy camera. But maybe you don’t really want to. Perhaps you’d rather fiddle with photos you’ve already taken with your top-of-the-range dSLR. In which case, Photocritic has the perfect tutorial for creating your own post-processing pre-sets in Lightroom.
Or perhaps you’d prefer to go the vintage route? Take a look at Photojojo’s four ways to vintage-ify your pics. This one covers all sorts, from post-processing ideas to tips such as vaseline on the lens or shooting through an old stocking.
Over at befunky.com they’ve what feel like hundreds of different effects that you can apply to your pictures. My personal favourite would be the speech bubbles, though.
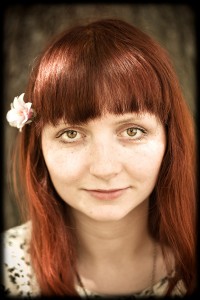
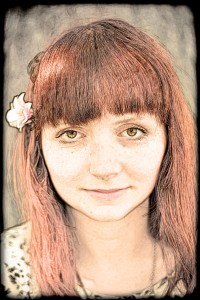
And Gareth, a member of the Small Aperture Scriptorium, has this easy method to cartoon-ify your pictures. Begin by selecting an image. How about this one?
And then:
- Open said selected image in Photoshop
- Create a duplicate layer
- Turn that layer to black and white using desaturate (Image>Adjustments>Desaturate)
- Duplicate the black and white layer and invert it (Image>Adjustments>Invert)
- In the layers panel, set the blend mode to Colour Dodge
- You should now have three layers. Select the top layer, the inverted one, and go to Filter>Other>Minimum to add the sketch effect. The higher the value of the pixel radius, the more pronounced the sketch effect.
- If you want to re-add colour, duplicate the bottom layer (the non-black-and-white one) and add it to the top of the stack. Set the blend mode to Colour.
Tad-dah!
I’m off to do silly things with photos now.


