Have you ever wished that you could make it look as if your black and white photos were in colour? Well, through the magical powers of chromatic adaptation, you can!
Someone posted a really cool optical illusion on Reddit, and one of the commenters was wondering how it is done.
As it turns out, it’s really quite easy, so I decided to tap out a quick little tutorial. Here is how...
Creating a Chromatic Adaptation image
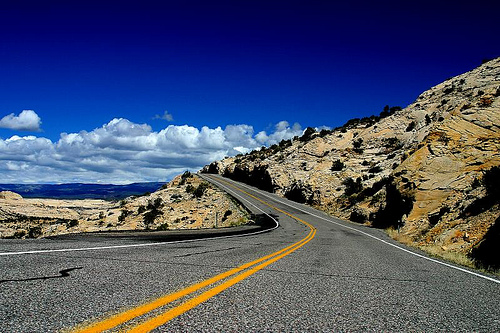
Start with the original image:
 Arizona 2003 by Photocritic on Flickr
Inverse it in an image editing package like Photoshop or the Gimp (in Photoshop: Image → Adjustments → Invert).
Next, increase the saturation a little bit (this will help with the colour perception – in Photoshop, Image → Adjustments → Hue & Saturation).
Finally, blur the photo a little. This will ensure that you concentrate on colour, rather than the texture. In Photoshop, I used Filter → Blur → Gaussian Blur, with a setting of 2px, but experiment to see what looks best.
That’s your first picture:
For the second picture, simply desaturate your original photo. If you want, you can up the contrast a little bit, or even sharpen it further.
The final result? Check out the video below. To see the effect, simply start the video and stare at the horizon. After 20 seconds, the image will change, and you’ll be able to see the optical illusion:
The effect isn’t very strong in this particular photo, but that’s because it’s such a gradient and vibrant photo to begin with. You may find that man-made, simpler structures (buildings etc) have a stronger effect. Experiment away, and if you make a particularly awesome one, post it in the comments!
Cheerio!


